Homemade Dog Biscuit treat bags
Using 2Cute Ink
By Chris Sather
Cattsscratchingpost.blogspot.ca
Materials:
- Dog biscuits (homemade or store bought)
- Small plastic bags
- Cardstock
- Milk and Cookies Dog digital image from 2Cute Ink
- Colouring medium
- ink
- White 3D puffy paint
- Adhesive
- stapler
1. Make dog biscuits ahead of time (I used a recipe I found at AllRecipes.com) – any shape & size. You could use store bought ones too!
Here’s the recipe I used:
5 cups whole wheat flour
1.5 cups nonfat dry milk powder
2 eggs, beaten
1 cup vegetable oil
4 cubes beef bouillon (I used the packets cuz that's what I had!)
1.5 cups boiling water
1/4 cup brown sugar
Preheat oven to 300 F
Dissolve bouillon in boiling water & allow to cool combine flour, dry milk, eggs, oil, beef broth and brown sugar.
Mix well and knead for 1 minute roll out to 1/4 inch thickness...cut out and place on cookie sheet
Bake for 30 min.
Cut them to size – I left a bit of room at the top so I could stamp the sentiment.
3. Stamp sentiment with desired ink colour. I used a sentiment stamp that I have had forever, and the ink is Stampin’ Up!
4. Colour image and mount onto coloured cardstock. I added white 3D puffy paint to the glass to look like milk. It gives it some texture too!
5. Do this for all of the tags you need.
6. Package dog biscuits into small plastic zipper seal bags. Staple tag to top of bag. Done!!! Easy and inexpensive gift giving ideas for the dogs in your life!!!
7. Share with your best friends!
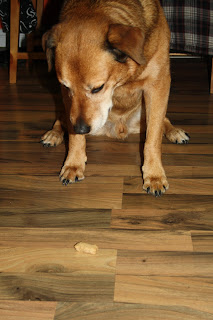
SATISFIED CUSTOMERS!!!!!
Thanks for checking out my tutorial! I hope you enjoyed it!
Hugs,
Chris


Thanks for sharing! This is so cute!!! :)
ReplyDeleteAww, love this.
ReplyDeleteThanks for sharing.
Alex from England x